Customizing your portal branding
NAVIGATION Admin Settings > Branding
NAVIGATION My Account > Create new brand/Manage Branding Info
NOTE This feature is available to MSP partners only.
Personalizing your vPenTest portal ensures a consistent and professional experience for your clients. You can reflect your company's brand by uploading logos, applying brand colors, and customizing the portal theme and report appearance.
Navigating to the branding settings
You can access the Platform branding library in two ways:
- In the left navigation menu, click Admin Settings, and then click the Branding tab.
- In the upper-right corner of the header, click your profile name (My Account), and then click one of the following options in the drop-down menu, depending on the current branding configuration:
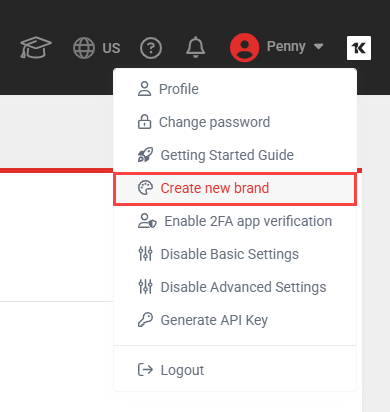
- If you have not yet created a custom brand, click Create new brand.
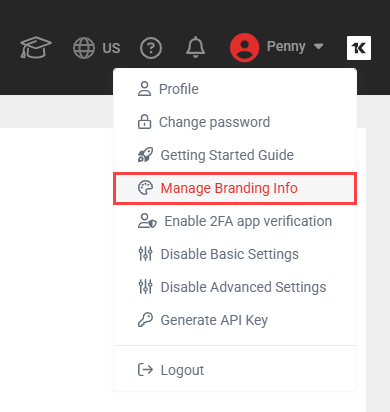
- If the account already has at least one custom brand, click Manage Branding Info.
- If you have not yet created a custom brand, click Create new brand.
Creating a new brand
You can create more than one brand and set which is applied to your portal as the default as follows:
- Navigate to the Platform branding library.
- Click New Brand in the upper-right corner of the page.
- In the New brand window, configure the Platform and Reports tabs as described in Configuring brand settings.
- Click Create.
Editing an existing brand
Complete the following steps to edit an existing brand:
- Navigate to the Platform branding library.
- On the brand tile you want to edit, click the three-dot menu ... and select Edit.
- In the Edit brand window, update the Platform and Reports tabs as needed. Refer to Configuring brand settings.
- Click Update to save your changes.
Configuring brand settings
The brand configuration window contains two tabs: Platform and Reports.
 Platform tab
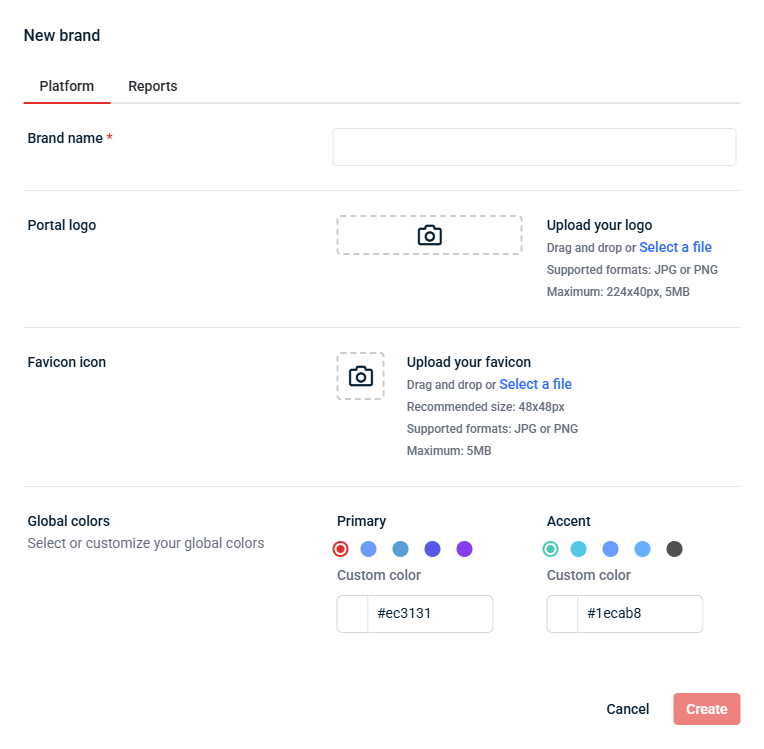
In the Platform tab, configure the following settings:
| Field | Description |
|---|---|
| Brand name | Enter a name for the brand. This field is required. |
| Logos | |
| Portal logo | Drag and drop or click Select a file to upload an image file for your portal logo, which will appear at the top of the left navigation menu. Requirements:
TIP As the portal header is dark, upload a logo with a transparent background or a background that coordinates with the portal background. |
| Favicon icon | Drag and drop or click Select a file to upload an image file for your portal favicon, which will appear in the browser tab. Requirements:
|
| Global colors | |
| Primary | Select a preset color swatch or enter a custom HEX color code. The primary color applies to profile links, breadcrumb links, navigation icons, active text, hover text, and outline icons in the portal. |
| Accent | Select a preset color swatch or enter a custom HEX color code. The accent color applies to secondary buttons, tabs, and other design elements in the portal. |
Reports tab
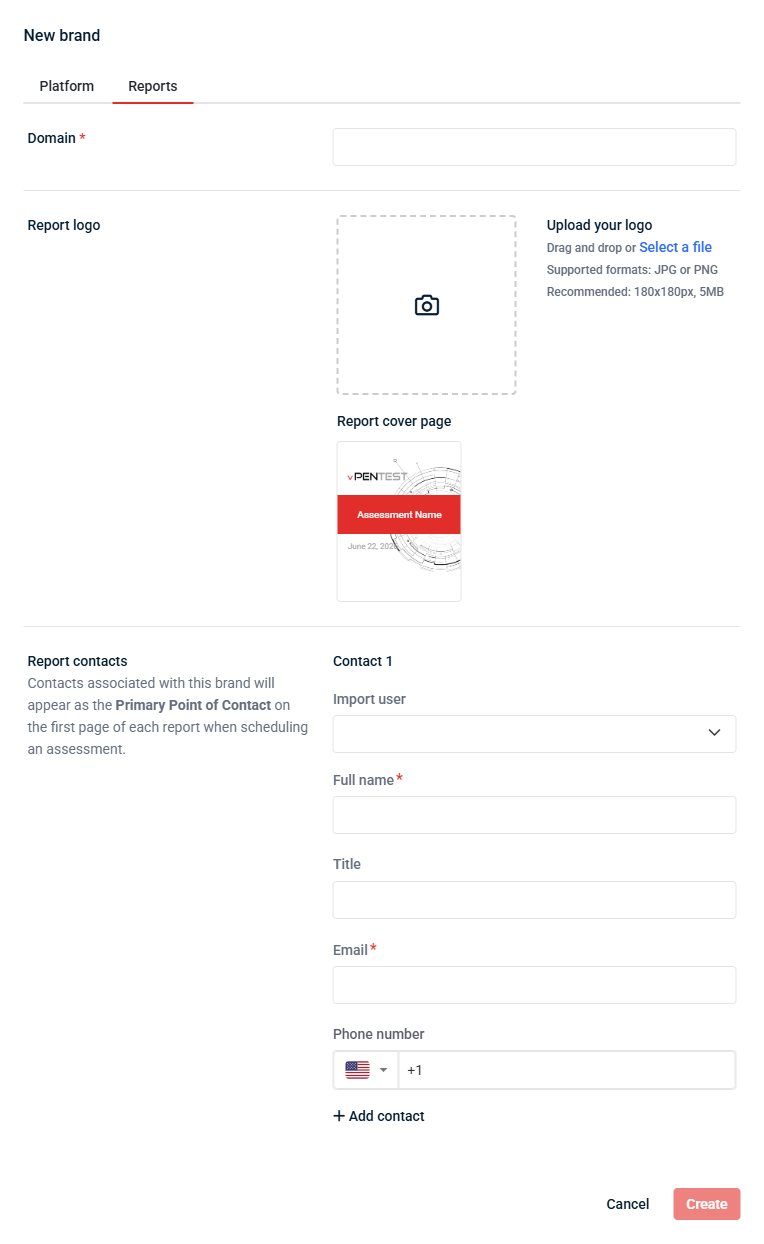
In the Reports tab, configure the following settings:
| Field | Description |
|---|---|
| Report branding | |
| Domain | Enter the web domain to display on the cover page of the report when this brand is selected for an assessment. Refer to Scheduling an assessment. This field is required. |
| Report logo | Drag and drop or click Select a file to upload the logo that appears at the top of reports when this brand is selected for an assessment. Requirements:
The preview of the report cover page is dynamically updated to reflect your configured report branding. |
| Report contacts | |
| Report contacts | Enter the details for the contact(s) that appear as the Primary Point of Contact on the first page of the report when this brand is selected for an assessment. For each contact, complete the following fields: Full name (required), Title, Email (required), and Phone number. To pre-populate a contact's details from an existing account user, select that user from the Import user drop-down menu. To add multiple contacts, click Add contact. To remove a contact, click Remove. |
When you are finished configuring your brand settings, click Create (for a new brand) or Update (when editing an existing brand).
Changing the default brand
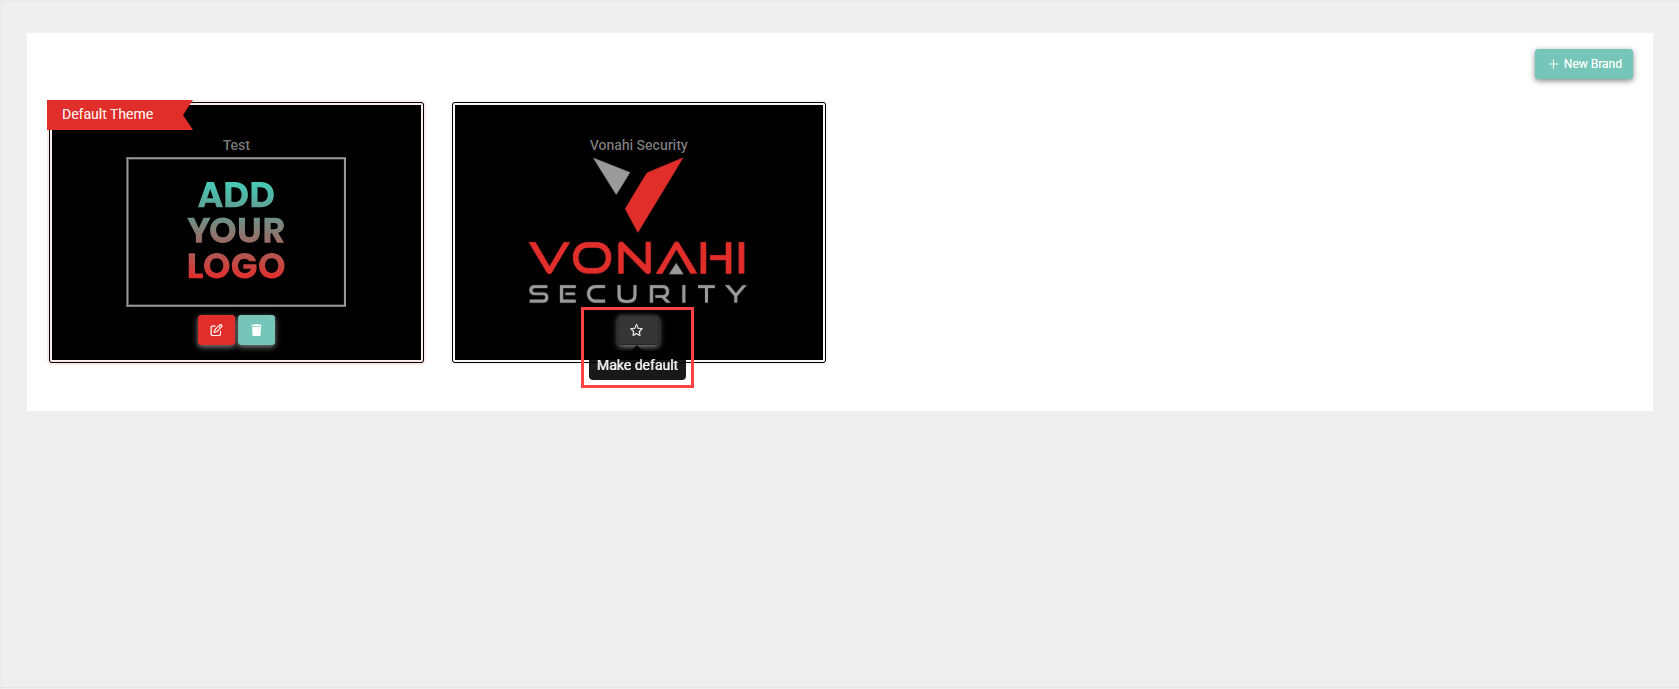
If you want to change the brand that is currently applied to the portal, complete the following steps:
- Navigate to the Platform branding library.
- Click the star icon on the brand tile you want to make the default.
Deleting a brand
You can delete any custom brand that is not currently set as the default. Complete the following steps:
- Navigate to the Platform branding library.
- On the brand tile you want to delete, click the three-dot menu ... and select Delete.
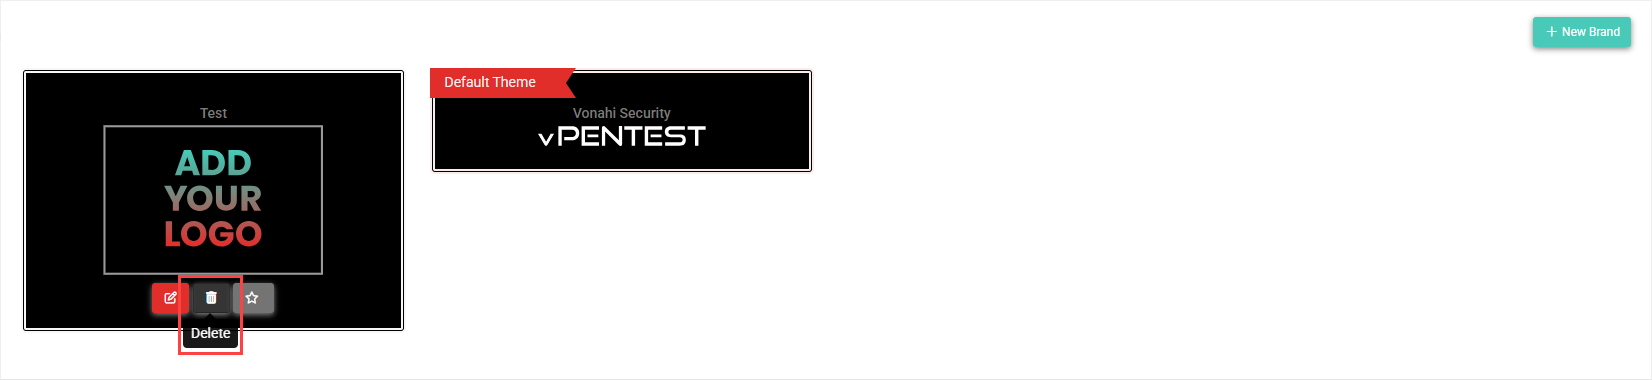
NOTE You cannot delete the brand currently set as the default. To delete it, first set a different brand as the default. Refer to Changing the default brand.
- In the confirmation pop-up window, click Delete to execute the action.


