Creating and managing locations
NAVIGATION Organizations > (select an organization) > Locations
The location feature allows you to create locations within an organization profile. Locations are used so you can better organize agents and IP addresses within an organization.
Benefits
- Organize agents and IP addresses by location for an organization.
- Save time by importing IP addresses for a certain location when scheduling assessments.
How to...
Complete the following steps to add a location for an organization:
- From the left navigation menu, click Organizations.
- On the List of Organizations page, click the organization name link in the Full Name column. Alternatively, in the Action column, click the Action drop-down menu for the organization and select Manage Organization Profile.

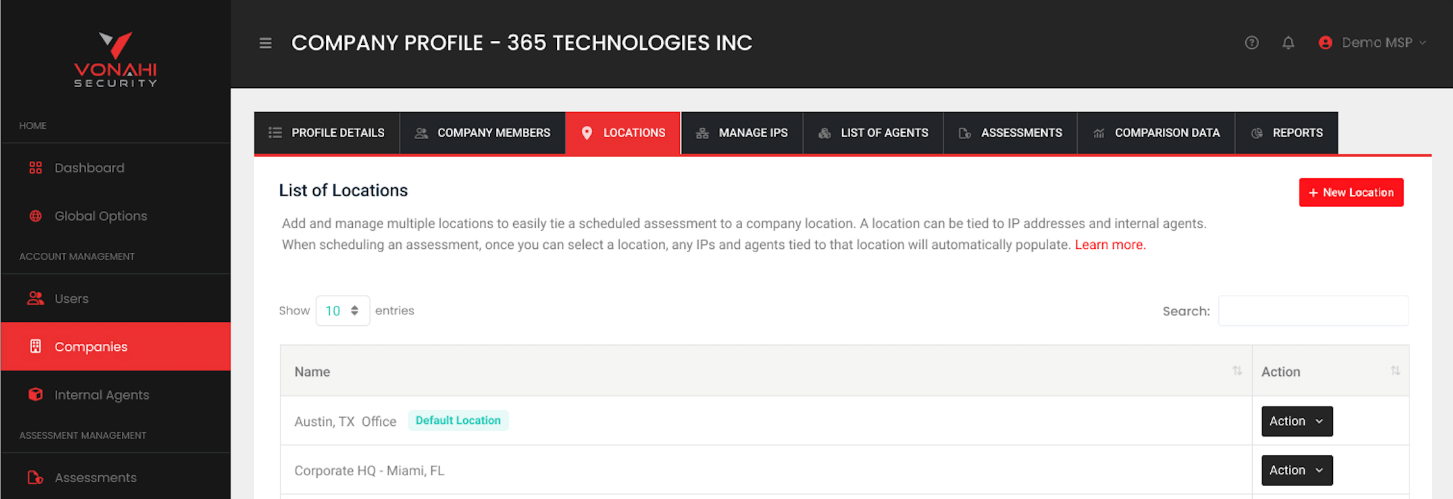
- Click the Locations tab.
- Click New Location.
- In the New Location window, enter the name of the new location.
- A default location contains new agents and IP addresses that are created and serves as the default selection during scheduling. The Set as Default field is displayed only if the organization already has at least one location configured. The first location created is automatically set as the default for the organization. Select Yes if you wish to make this location the default for the organization. Doing so automatically overwrites the current default location.
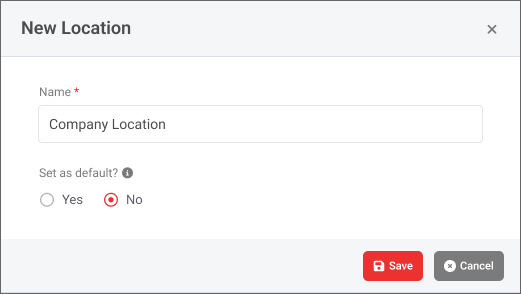
- Click Save to create the location.
Editing locations allows you to change location names or set a different default location. Complete the following steps to edit a location:
- From the left navigation menu, click Organizations.
- On the List of Organizations page, click the organization name link in the Full Name column. Alternatively, in the Action column, click the Action drop-down menu for the organization and select Manage Organization Profile.
- Click the Locations tab.
- In the Action column, click the Action drop-down menu for a location and select Edit.
- In the Edit Location window, edit the location as desired.
- A default location contains new agents and IP addresses that are created and serves as the default selection during scheduling. Select Yes if you wish to make this location the default for the organization. Doing so automatically overwrites the current default location.
- Click Save to save the changes to the location.
NOTE You cannot delete a default location.
To delete a location, complete the following steps:
- From the left navigation menu, click Organizations.
- On the List of Organizations page, click the organization name link in the Full Name column. Alternatively, in the Action column, click the Action drop-down menu for the organization and select Manage Organization Profile.
- Click the Locations tab.
- In the Action column, click the Action drop-down menu for a location and select Delete.
- Click Yes, delete it to confirm the deletion.
IMPORTANT Deleting a location is permanent and irreversible. Deleting a location will also delete all agent UUIDs and IP addresses that belong to that location.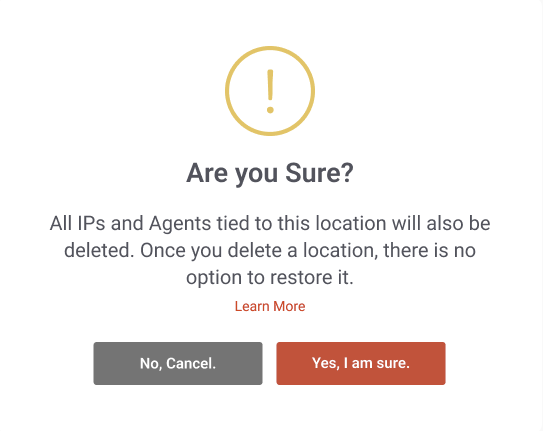
IMPORTANT Deleting a location is not possible if an agent that belongs to the location is actively in use for a pentest.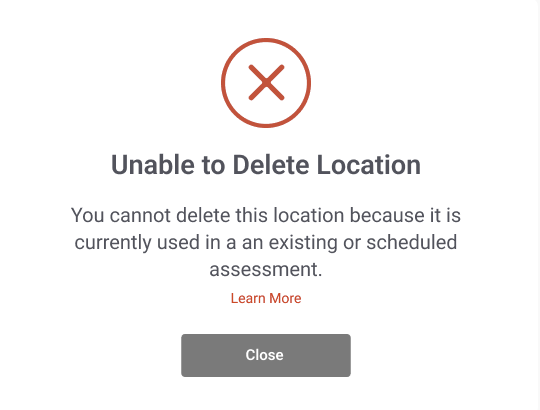
Once at least two locations are configured for an organization, the Organization Location field becomes available when scheduling an assessment with that organization selected. If only one location exists for the organization, the Organization Location field is not displayed because that default location is automatically assigned. Refer to Step 1: Project Details in Steps in the scheduling wizard.
Once at least two locations are configured for an organization, the Location field becomes available when adding or editing an agent with that organization selected. If only one location exists for the organization, the Location field is not displayed because that default location is automatically assigned. You can assign a location to an agent in the following ways:
- Assign the location when creating an agent or editing an agent on the List of Agents page. Refer to Creating and managing internal agents.
- Assign the location when creating an agent or editing an agent in the List of Agents tab in the organization profile. Refer to List of Agents in Creating and managing organizations.
Once at least two locations are configured for an organization, the Location field becomes available when adding, editing, or bulk-editing IP addresses in the Manage IPs tab in the organization profile. Refer to Manage IPs in Creating and managing organizations. If only one location exists for the organization, the Location field is not displayed because that default location is automatically assigned.
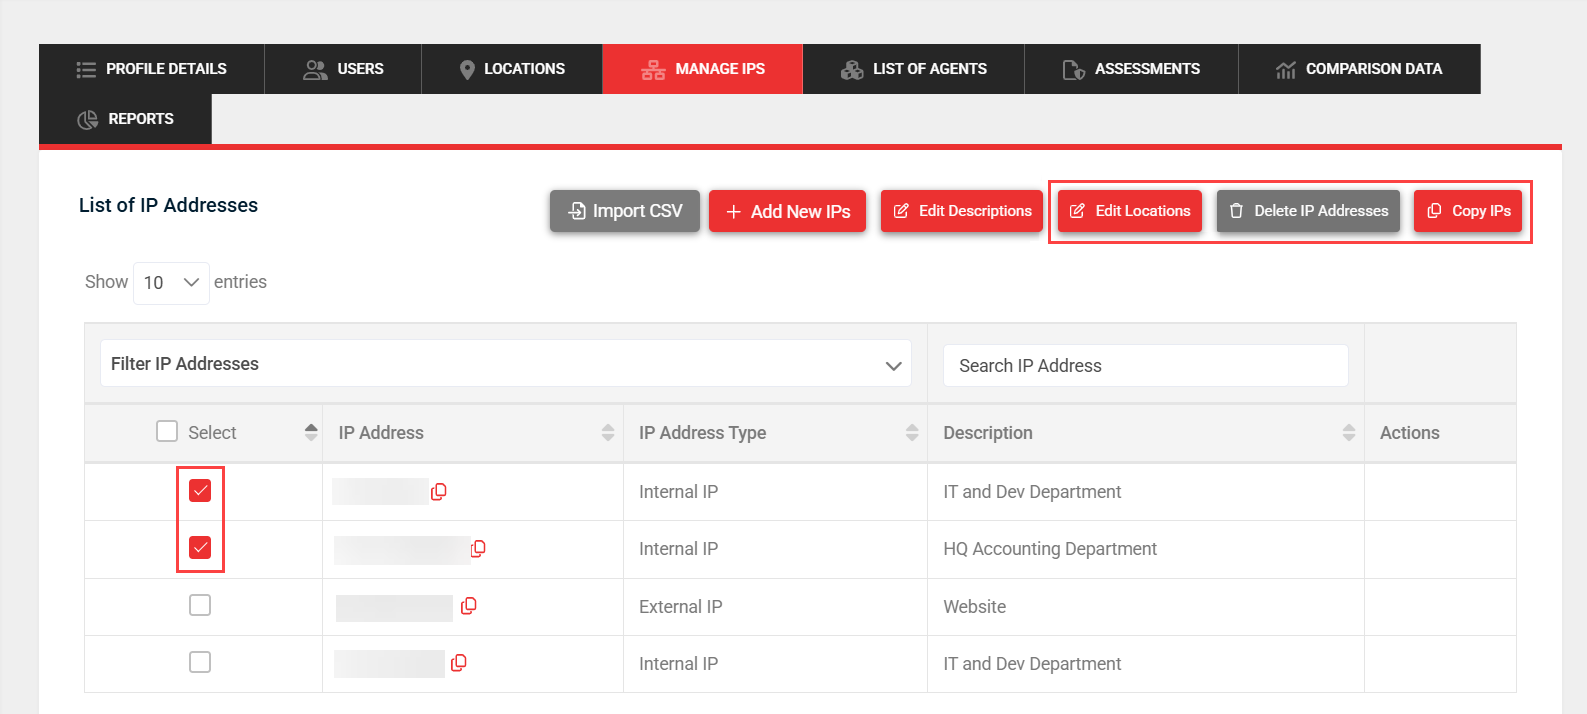
Bulk editing the location for managed IPs
In the Manage IPs tab, select multiple IP addresses by selecting each of their checkboxes. Click Edit Locations to select a location to apply to all the selected IP addresses, and click Save.